

This activity is super fun and useful! Use this cute bubble magnets to hang up kids art on the fridge, photos in your locker, or notes on the family white board!

Supplies you need:
- Clear small flat glass gemstone
- Cardstock with your choice of pattern
- Small magnets to match the diameter of the gemstone
- Scissors (Alternative: Scrapbooking hole punch the diameter of the magnet.)
- Pencil
- Mod Podge (Gloss)
- A small sponge or brush

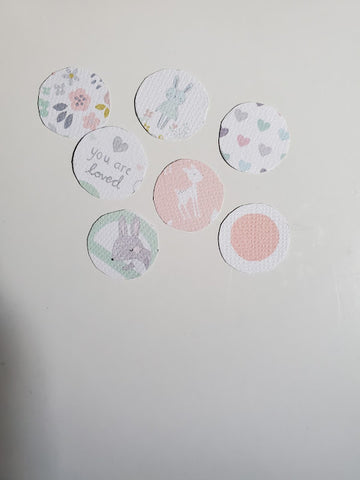
STEP 1: With your chosen cardstock, place your gem over the different patterns to find what you want your magnet picture to be. I picked out a few from these cute patterns. Putting the gem over it gives you a good idea as to what the finished product will look like.


STEP 2: Place your magnet down over the area you would like to be on your magnet and trace it. Cut it out. (An alternative to this would be taking a scrapbooking hole puncher and punching it out).

STEP 3: Stick your cutout onto the magnet. My magnets had adhesive backs, so this was fairly simple. If yours don’t have adhesive backs, you can glue them down onto the magnet.


STEP 4: Put a bit of Mod Podge on your small sponge or brush and apply it to the top of the image on the magnet. Place the plat side of your gemstone on top and press down between your pointer finger and thumb. Hold it for 10 seconds and release. You now have a Bubble Magnet! YAY!

Apply to all of your patterns and put them to use!
